Electro Harmonix Small Stone EH4800 Phase Shifter repair
I bought a Small Stone phaser that had been disassembled, had its wires cut, and was missing connectors and a switch. Despite all that, it’s not a complicated circuit, and I was (correctly, as it turns out) confident that I could bring it back to life.
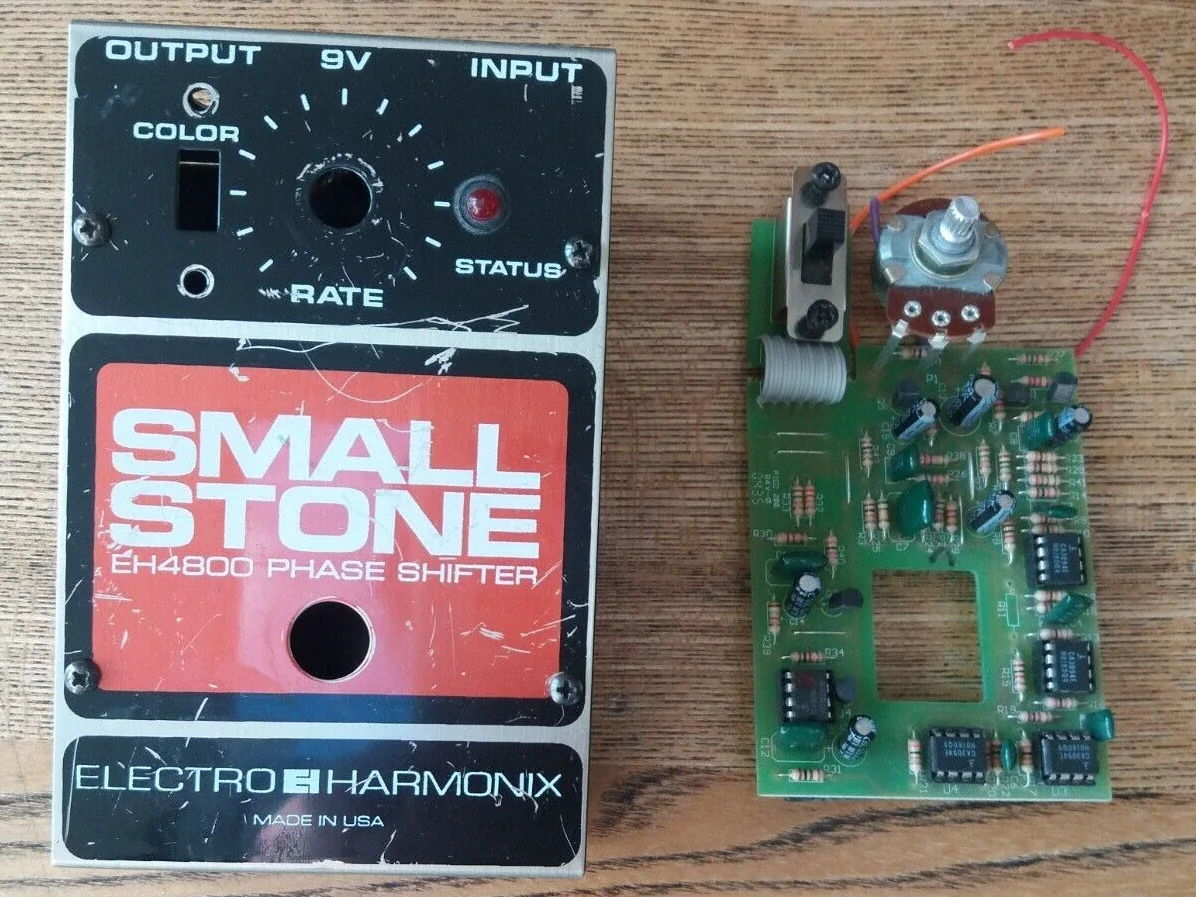
The pedal as I bought it, from the vendor’s original photograph
It would originally have used a DPDT switch, so that the output was switched but the input was always loaded by the effect even when not in use. As I had a 3PDT switch to hand, I decided to rewire it as true bypass.
A previous owner had also changed the original mini jack power connector to the standard pedal barrel connector. But they hadn’t even done that right, as the socket was missing its fixing nut. I replaced it with a new socket.
I was able to work out the wiring from a photo of the inside of the pedal and a bit of deduction. One of the odd things about the PCB is that few of the connections have dedicated pads; instead, they’re just grafted onto a leg of an existing component. To me, that seems like an unnecessarily difficult way of making it, but it’s hardly the first time I’ve been surprised by design decisions in old electronic equipment.
I also had to fix up some broken PCB traces where someone had done some very bad soldering, and to replace a missing resistor. Although I knew the designation (R11), I couldn’t find a schematic with designations. By tracing it back to a nearby chip, with the aid of the schematic I did have, I was able to work out the required value and replace it.
For the benefit of anyone trying to do this in the future, here are the connection points on this version of the board:
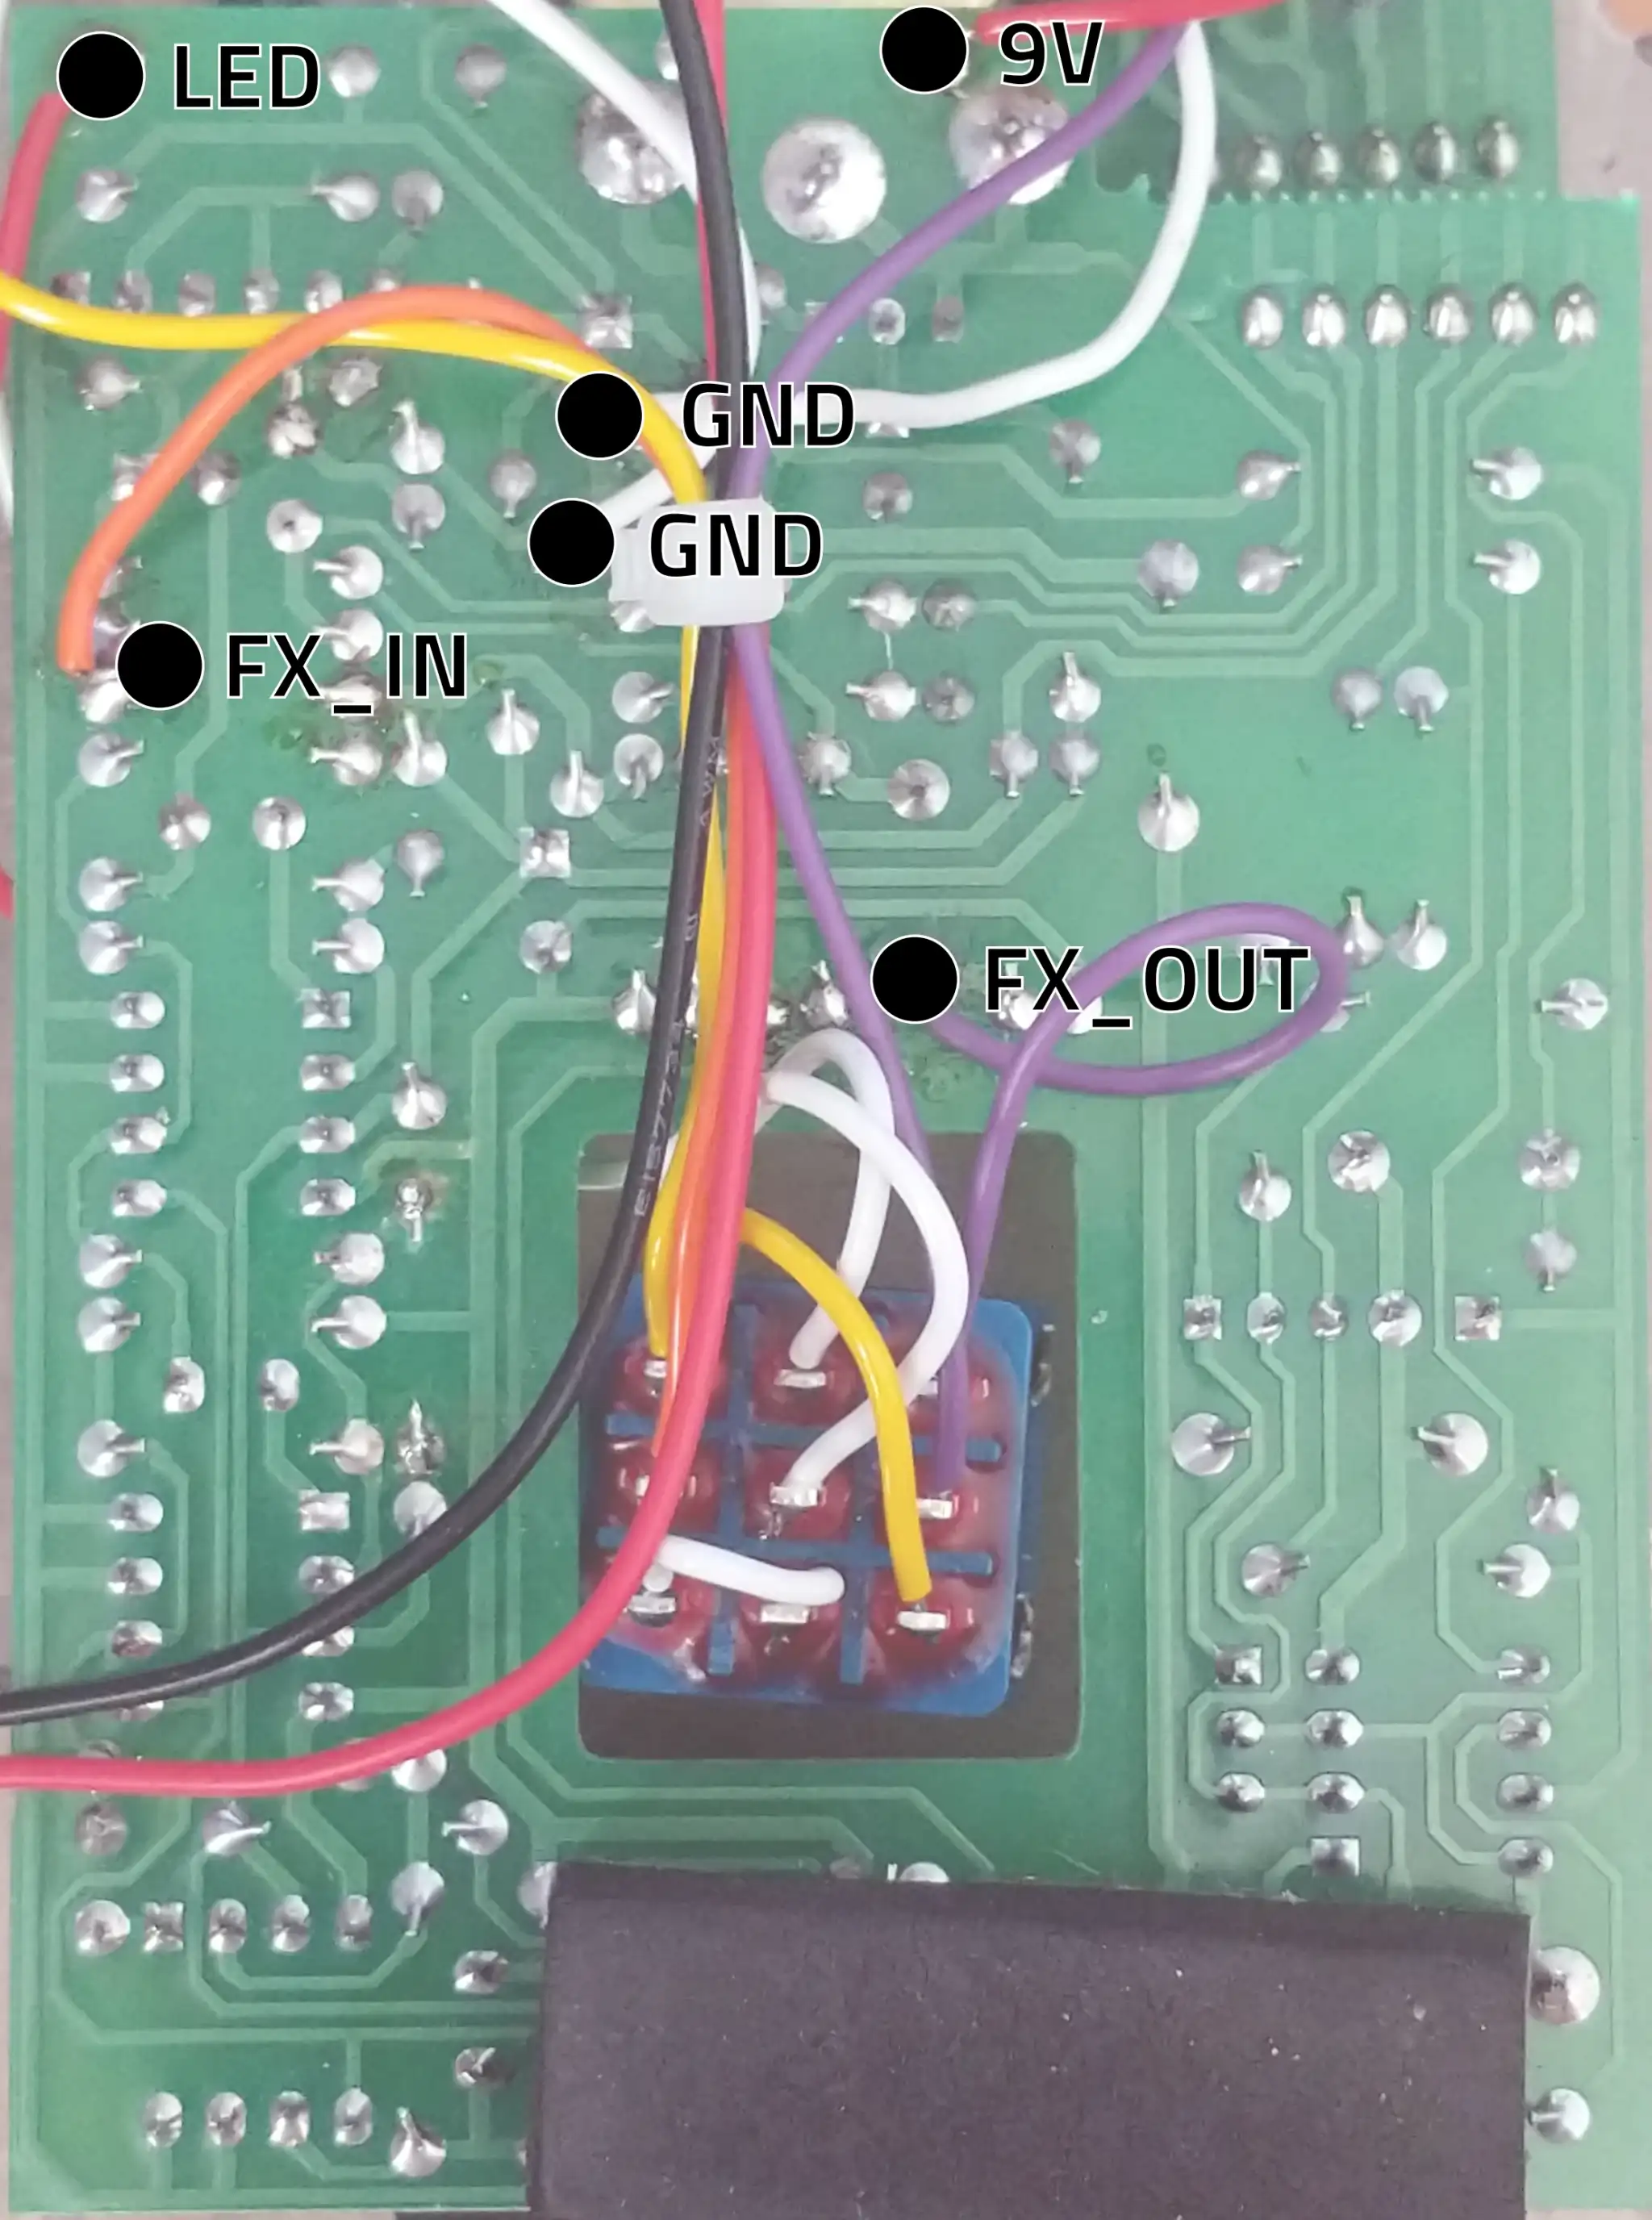
How to wire up the circuit board
There’s already a current limiting resistor on the board before the LED connection point, which should be wired directly to the LED anode. Here’s a schematic:

True bypass wiring
In all the photos I’ve found online, the ground connection for the output jack is provided by the metal chassis, so I’ve done the same.
With the addition of a suitable knob from my stock, it’s back from the dead and working well.
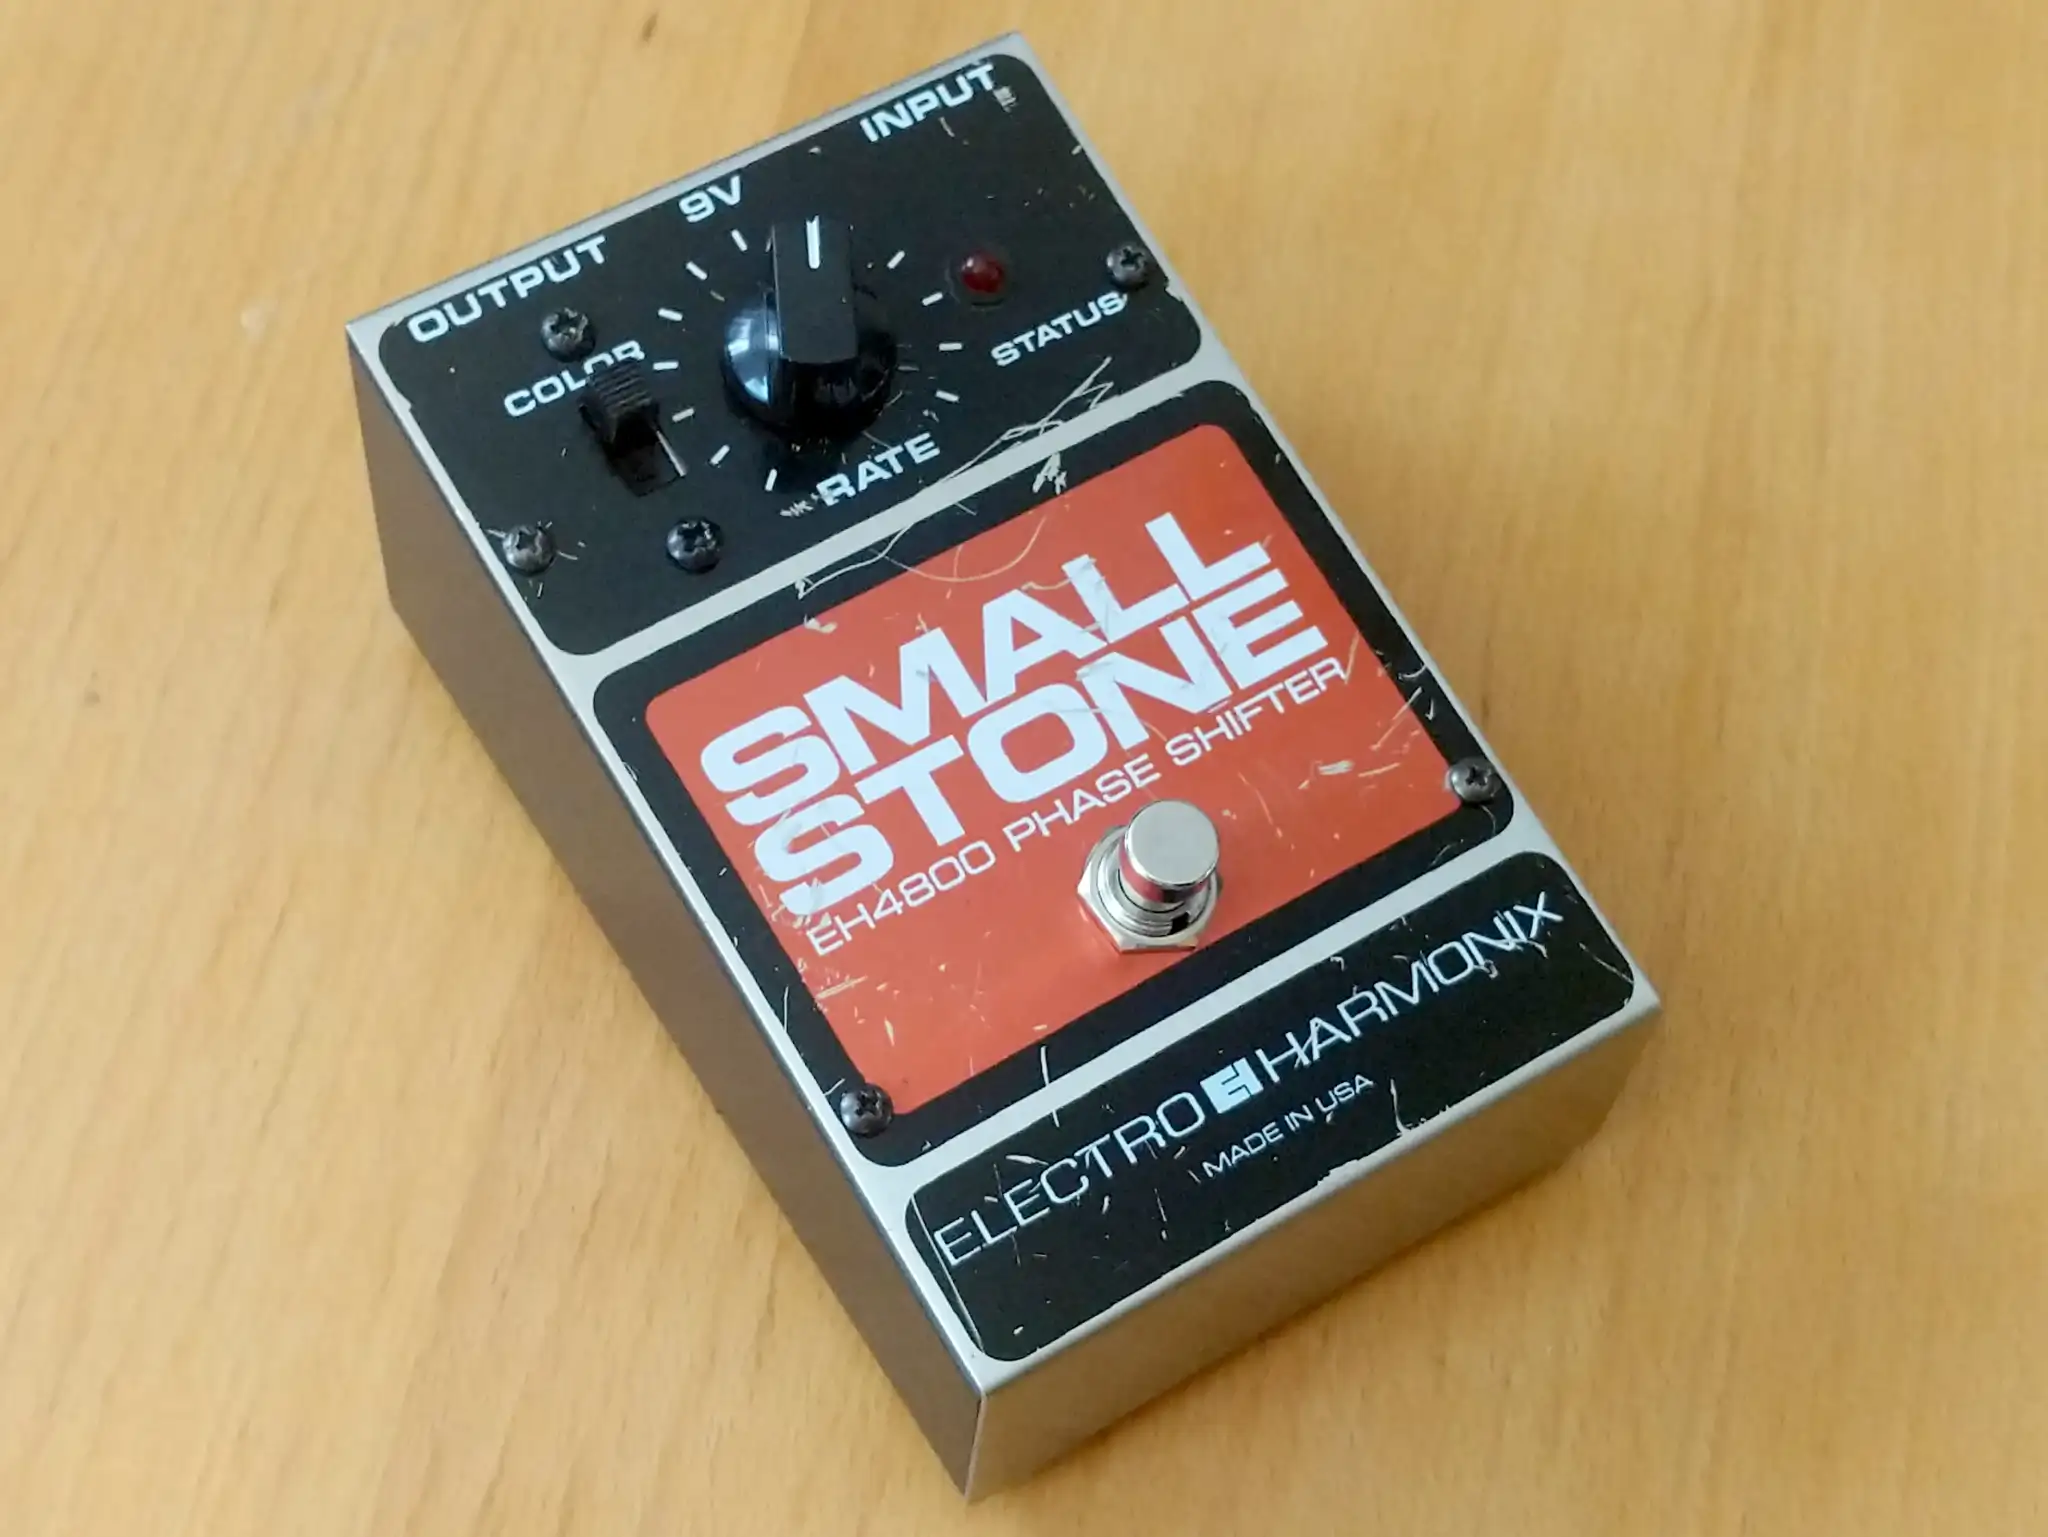
The restored pedal