Week 2: The means of production
I feel as if I’ve spent the past week doing nothing but modelling enclosures and 3D printing them.
Even though I’m not really good at visualising things (I can’t call up anyone’s face or picture a sunset) I find it very easy to conceptualise and manipulate 3D (or sometimes even 4D) structures in my head. I’ve never really go on with graphical modelling tools, possibly because I’ve never put the time in to get past their frustrating multiple-toolbar interfaces, but I enjoy working with OpenSCAD – it’s a bit more like programming, so you can define models in terms of constants and relationships.
Between that and my 3D printer, I can make really quite useful physical products from home. It’s very satisfying.
My Open Theremin kit arrived at the start of the week. I’d ordered it from Switzerland at the end of December. Between border closures in France and the general Brexit disruptions, it took a couple of weeks to get here. I’d expected to be charged for import VAT and the usual extortionate processing charge on top – this would have been the case regardless, as Switzerland was never in the Customs Union – but no, it just turned up with no additional fees to pay. I’ve heard anecdotes to the same effect: the sudden increase in post that needs to go through customs has effectively DoSed the system, and they’re just waving things through. Congratulations on taking back control of your borders, I guess.
The kit consists of a board with all the surface-mount components pre-soldered, plus some through-hole parts that need to be soldered by hand. I used panel-mounted metal-shaft potentiometers instead of the supplied plastic trimmers so that I could more easily mount it in an enclosure and use proper knobs. You also need an Arduino Uno; I had one sitting unused because there are cheaper, better alternatives these days, but I was glad to put it to work doing something useful.
For reasons I didn’t dig too deeply into, I couldn’t program the Arduino
via its USB connection (it complained of a stk500_getsync() error), so I
programmed the chip directly using a USBasp programmer that I already had and
that worked fine.
What you don’t get is any kind of case. I’m not a huge fan of bare PCBs: they’re fragile and fiddly and you have to take care of them. In addition, the antennae don’t stay in place very well when they’re supported by only one point each.
So I designed a case. It’s in two halves, joined with M3 machine screws. I’ve discovered that driving machine screws directly into slightly undersized (2.9 mm in this case) holes in FDM printed parts works really well. I printed an extender to bring the button up to the panel, and made an adapter to enable the whole thing to be mounted on a microphone stand. I’m pleased with how it turned out:
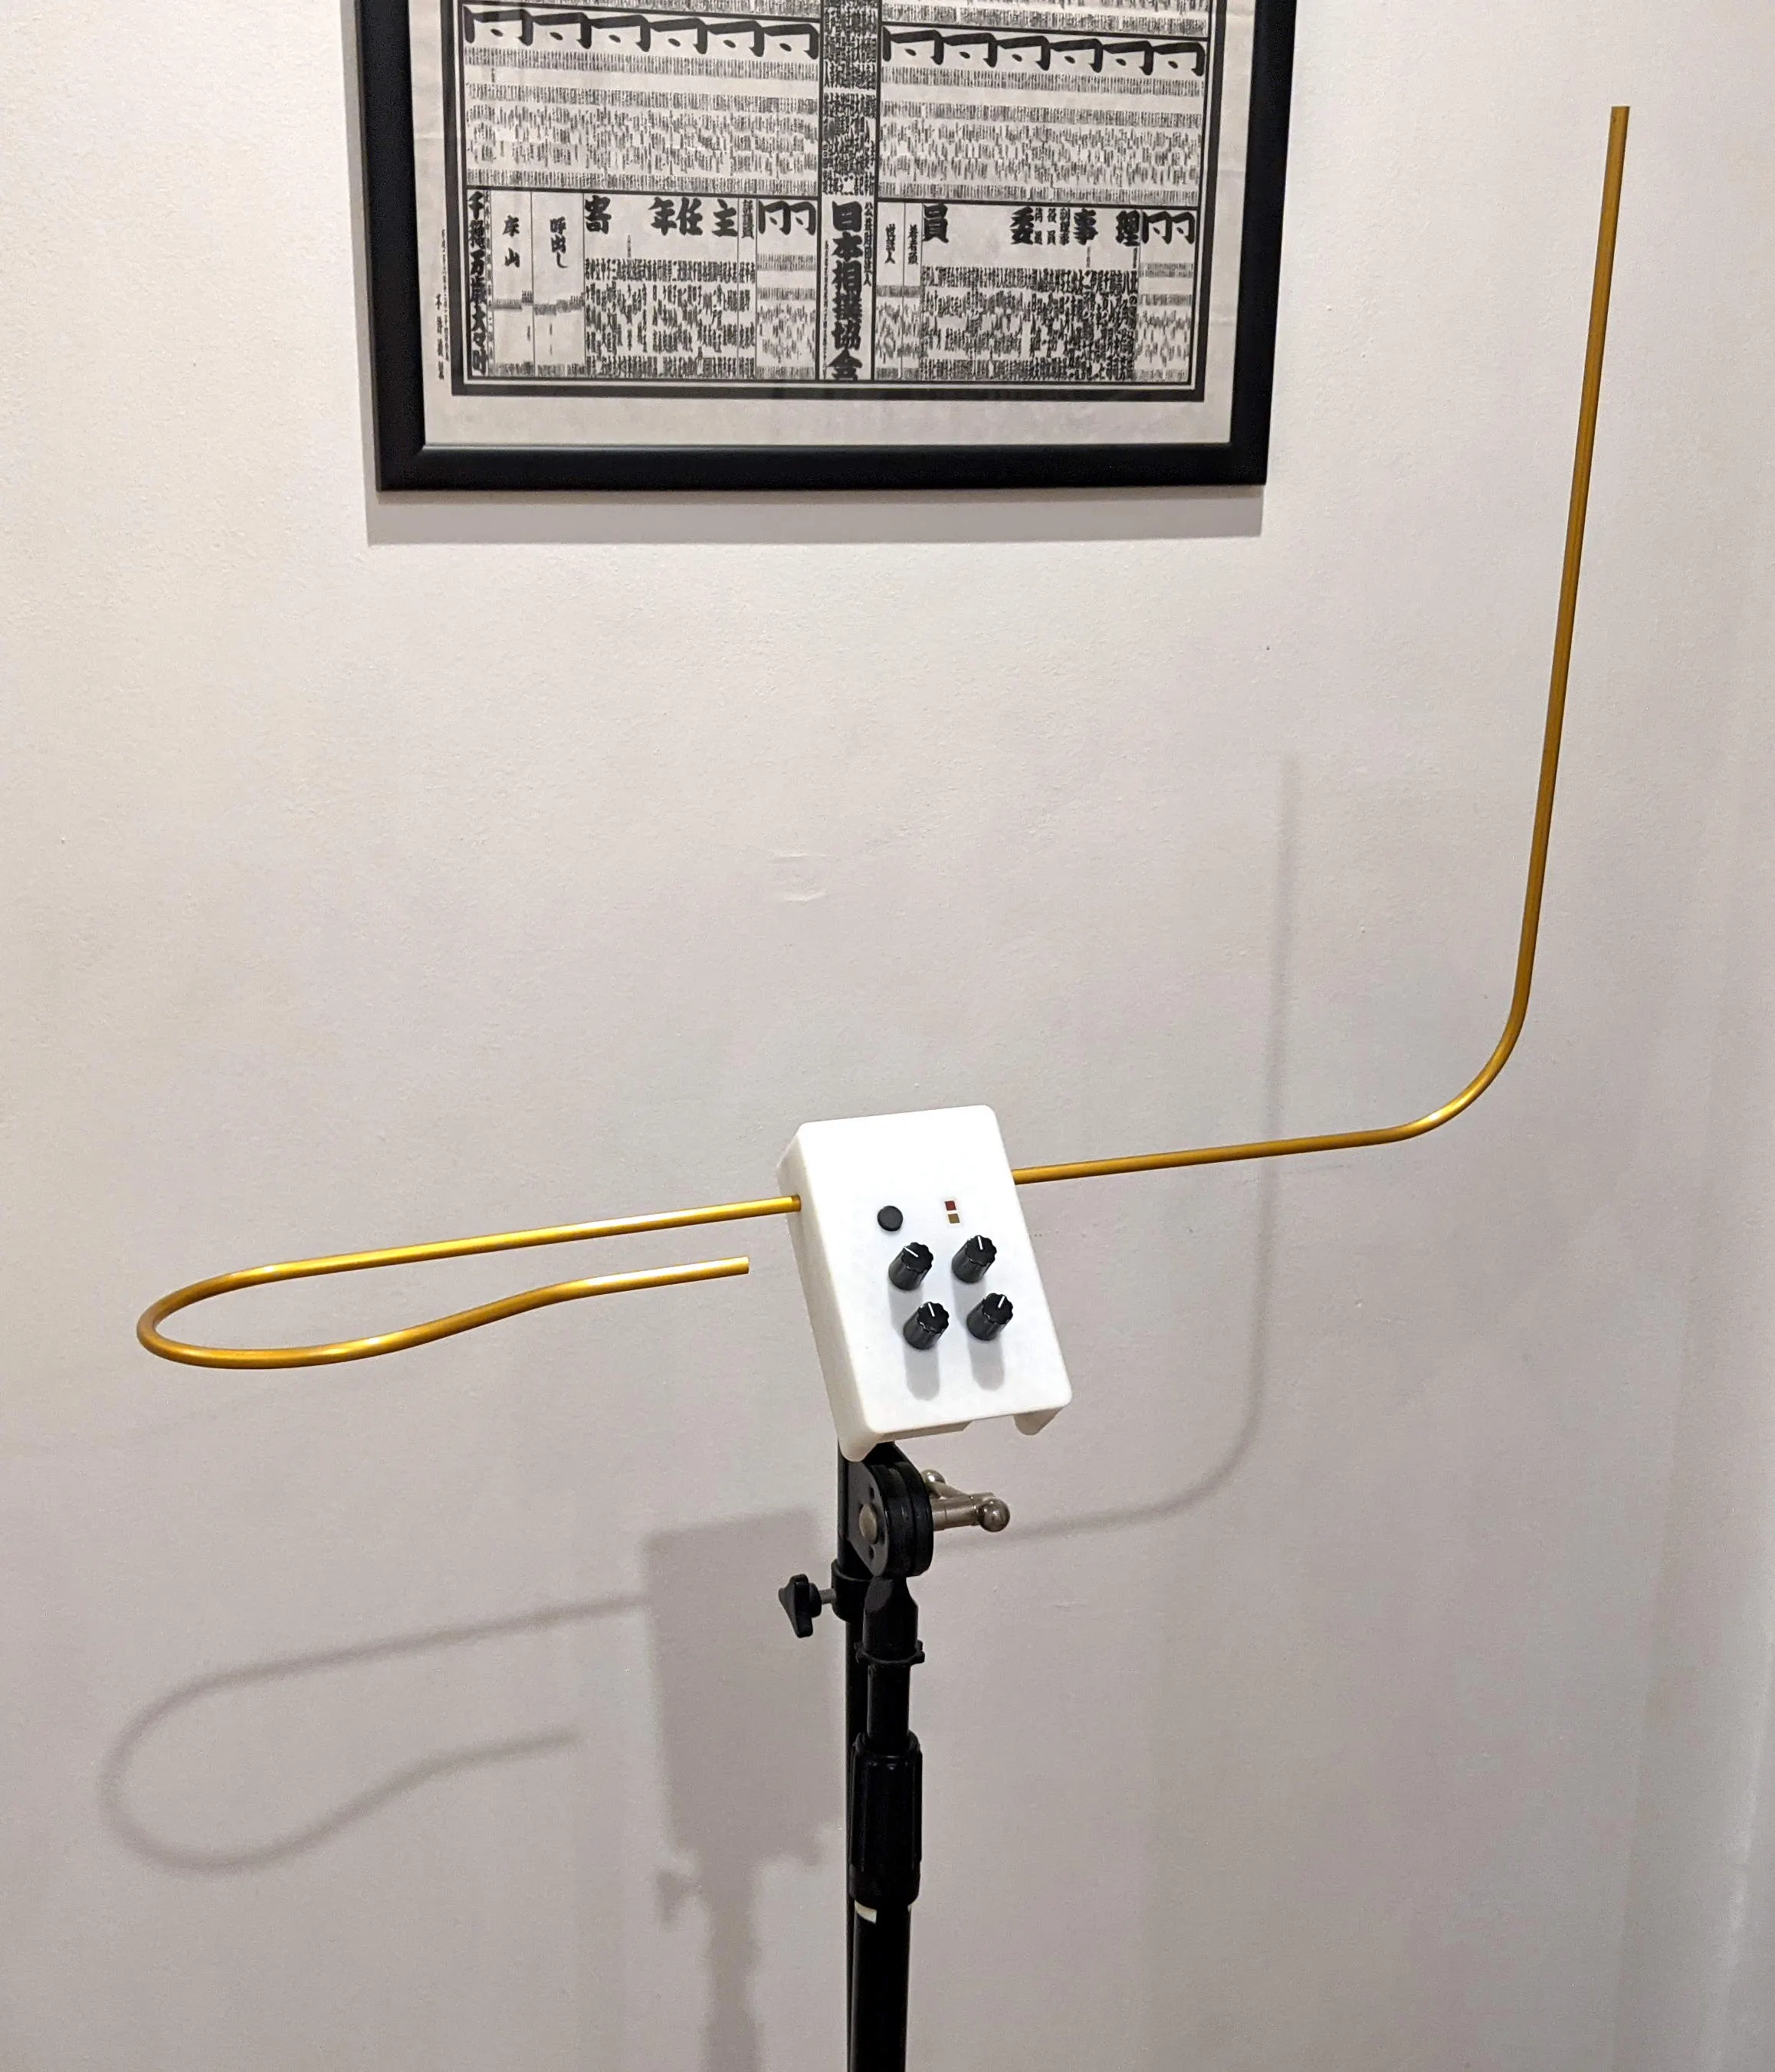
The only problem now is that I don’t have a long enough 3.5 mm audio cable, and can only play it by propping up a guitar amp on a chair next to it. It’s always the little things.
As far as playing it is concerned, it’s about as difficult as I’d expected. I can make a few recognisable tunes, but I’m not going to get any gigs any time soon.
I’ve put my case on GitHub but I’ll probably upload it to Thingiverse in due course, as that will probably be useful to more people.
I’ve also been working on a NeoTrellis Monome-compatible grid controller to go with the DIY Norns Shield I built at the end of last year. It seems like most people have made theirs using laser-cut layers, but laser cutting is quite expensive, particularly when it has as many cuts as are needed for 128 buttons. I thought I’d see if I could save a little money and make something a bit better using my 3D printer.
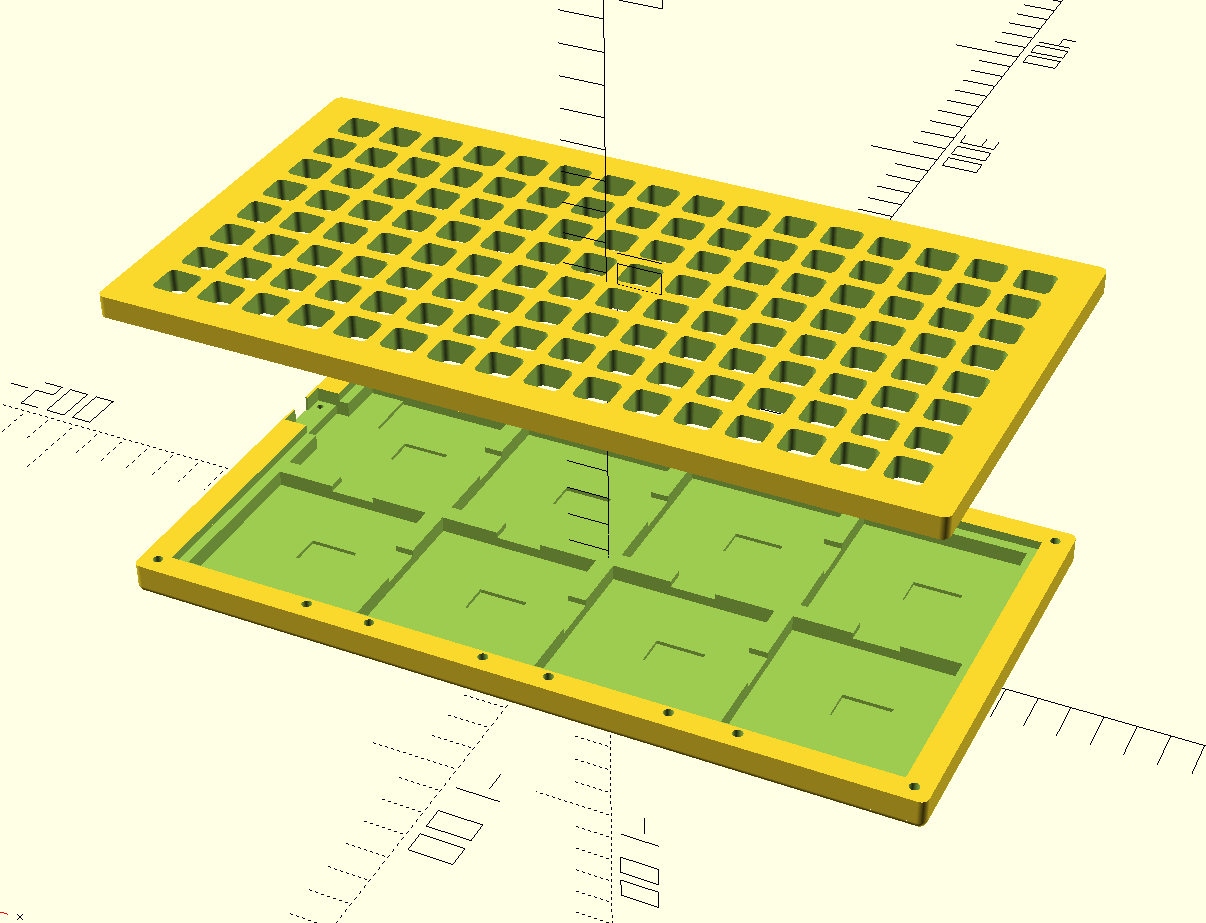
So far, the answer is yes. It’s a little too big to print each half in one piece, but by slicing the top into two and the bottom into three parts, the whole thing screws together solidly. It took about 30 hours to print all the parts, so the printer has been running day and night. Mostly night, because it’s a bit annoying during the day.
The only problem I haven’t solved yet, which is unrelated to the case, is how to solder together the NeoTrellis boards. They’re supposed to be bridged edge to edge. Fine in theory, but solder shrinks as it cools, which leads to the whole thing bowing in the middle. I think I’m going to have to make some connector wires that are kinked in the middle to allow the boards to flex relative to each other.
I finally got the new exercises in Scottish Gaelic on Duolingo. I no longer have the golden owl of a completed course, but I have new stuff to learn.